Siri’s Newest ios 9 Tricks

Tweet

Updated October 23, 2017

Siri Grows Smarter Each Year When Apple Introduces their Newest ios Software

This Year ios 9 Has Helped Siri Learn More Than Usual

The advent of ios 9, which was released in September 2015, allowed Siri to truly blossom and finally become the most amazing hands free tool that I always knew ‘she’ could be!

You can allow Siri to function entirely hands free by going into settings and enabling the ‘Hey Siri‘ feature under General Settings – Siri.  Now, instead of long pressing the home button to invoke Siri, you can just say ‘Hey Siri’ and even if your device is sleeping or all the way across the room, Siri will probably wake up and respond!  This new ‘Hey Siri’ feature worst so well it’s uncanny!  And sometimes even a bit scary!!  As evidenced in my short YouTube clip showing Siri waking up to a television commercial!

One great example of Siri’s newfound brilliance is her amusing anecdote of how she came to ‘be’.  Most people may not know that the real voice behind Siri is Susan Bennett.  It was only revealed recently that Susan Bennett,  a professional voice over artist, is the real voice of Siri.  She spent many, many hours recording snippets of vocabulary back in 2005 which Apple pieces together probably using algorithms to address any question thrown at her.  You can read more and see a video of Susan and how she created Siri’s voice in this People magazine article.

Susan Bennett's recent 'coming out' to the world as the person who's voice was used for Siri has become a celebrity in her own right since the big news was unveiled. You can follow her on Twitter @SirioulsySusan

Susan Bennett’s recent ‘coming out’ to the world as the person who’s voice was used for Siri has become a celebrity in her own right since the big news was unveiled. You can follow her on Twitter @SirioulsySusan

Hey Siri, Apple’s Hand’s Free Method for Engaging Siri, Has Finally Arrived!

In recent years iPhone users like myself have been somewhat disheartened by Siri’s primitive functionality when compared to the amazing ‘OK Google‘ feature for Android users.  I’ve watched (and secretly fumed) as close friends and family members have been engaging Google effortlessly for several years just by saying ‘OK Google.’

So it’s with a renewed sense of spirit and enthusiasm that I’m finally able to confidently say that Siri is now a true competitor.  In the last few months I’ve used ‘Hey Siri’ oftentimes with stellar results.

In fact, while watching the ‘American Idol Finale Part 1′ I was shocked and surprised when I heard my iPad (in the TV room I’d just left for a commercial break) tell me that I had no playlist entitled ‘waiting’ on my iPad.  Upon investigating I found that Cookie Monster’s voice in a commercial had awoken my iPad.  This didn’t happen just once either!  You can see the amusing results for yourself in this really short YouTube video I made while listening to Trent singing Sia’s ‘Chandelier.’


Here are a just a few of Siri’s newest talents:

You can ask Siri to remind you about something.

Ask Siri to create a reminder

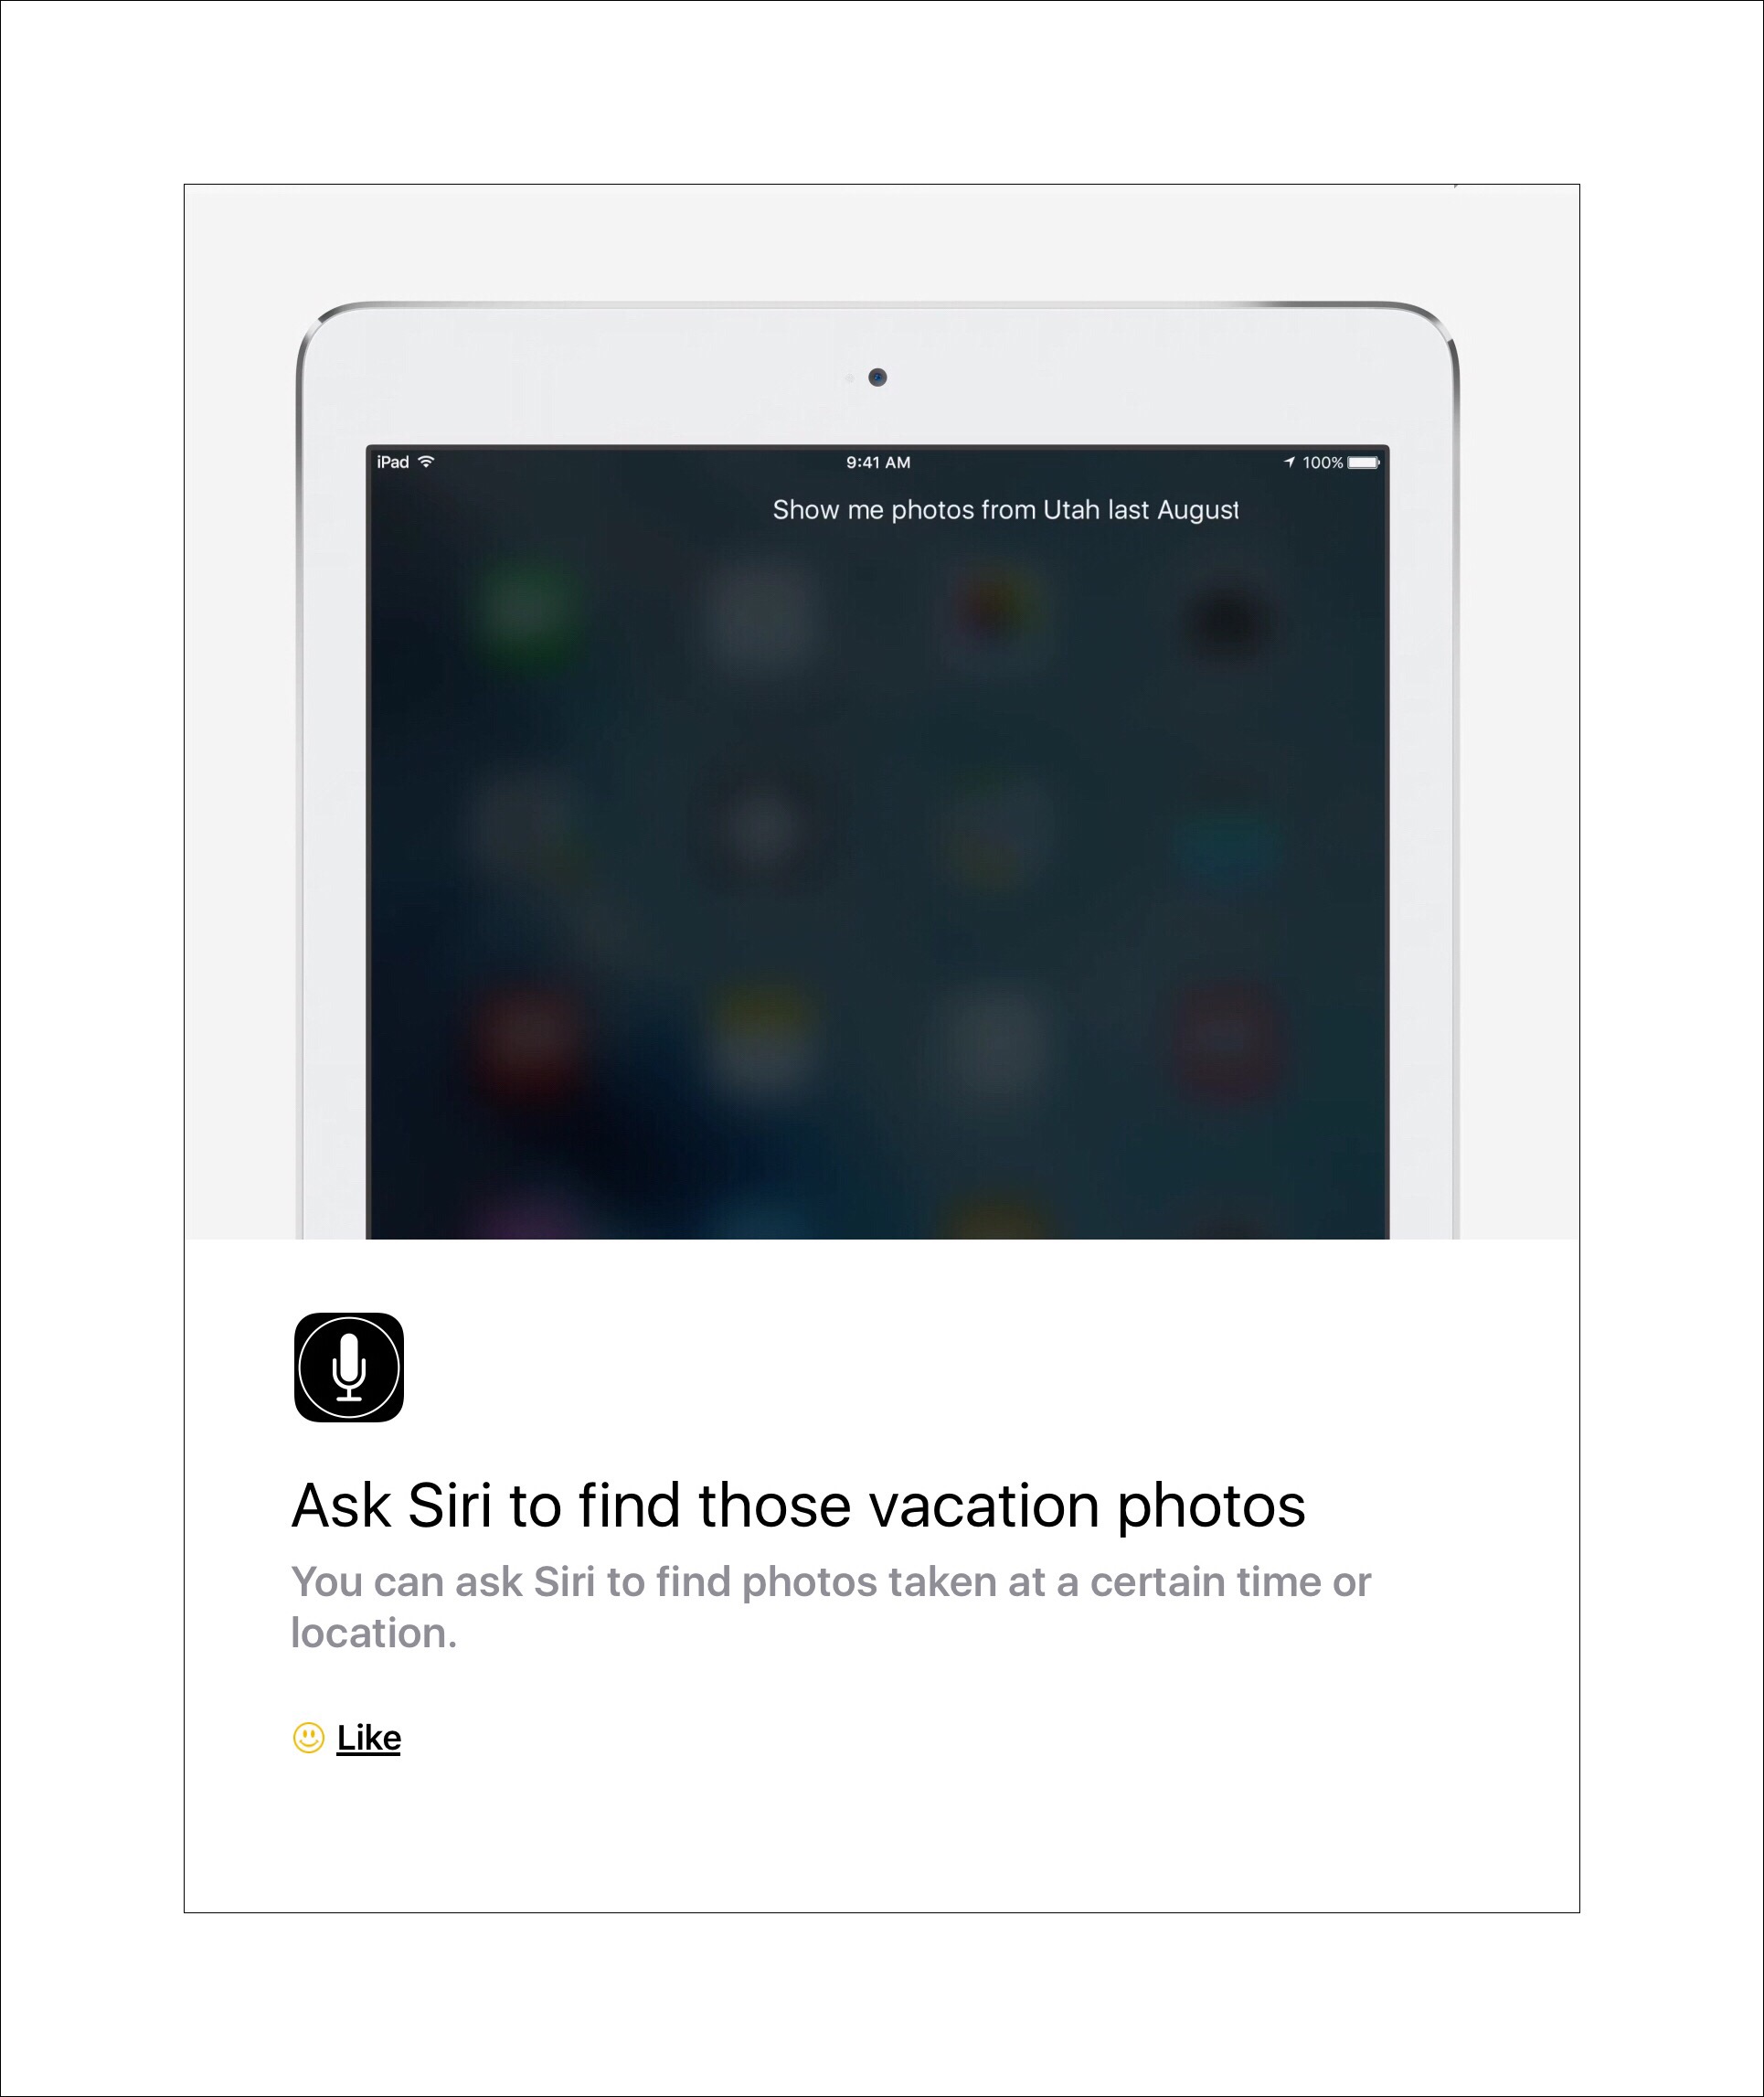
You can have Siri search your entire photo collection for specific ones.

Siri can search your photographs for specific ones
You can ask Siri to send a text message for you.

Siri can send text messages
And the last one is huge, you can finally correct Siri’s pronunciations easily!

Correct Siri's pronounciation

Sometime after writing this post I wrote a post about correcting Siri’s pronounciation which I’ve continued to add onto as I learn more tricks or as Siri is improved. You’ll find that article here.

Get Siri to Tell You a Story

IMO nothing can top Siri’s amusing story of how she became famous!

You can get Siri to tell you this story yourself (if you’re lucky) by holding down the home button and saying ‘Hey Siri, would you tell me a story of how you became famous?’ or something else along those lines.

Siri can be obstinate though!  Apple developers have instilled just the right amount of personality I think, giving Siri an edge that makes your interactions feel almost ‘real.’ This is truly AI (artificial intelligence) at its best!  Consequently, you may need to use your imagination to get Siri to spill!  Here are some hints to help in that regard.  If you ultimately fail here’s a peak of that story.

How Siri began at Apple

If you want to read the really real story of Siri’s origins try this link.

One More Kinda Bizarre Siri Experience I Had Recently

I have just one more recent experience to add to the lot.  As briefly mentioned above I use TTS (text-to-speech) or ‘read out loud‘ utilities a lot on my iPads and iPhones.  I have a new brand new iPad mini that was a replacement for a mini that acquired a speck of dust under the screen.

I hadn’t even entirely finished setting it up yet, but I was already using it to read some articles out loud to me.  One article was stored in Evernote.  It was in PDF format.  I was more than a little shocked by the voice that I heard when it began reading.  I’m wasn’t sure what was going on.  I’m wasn’t sure if my new iPad was messed up because the voice cerentainly wasn’t one I’d encountered before.  So I shot another quick YouTube video of it to submit to Evernote’s beta testing discussion forum.

I was really impressed with how quickly I received a reply back from EV’s head ios beta developer telling me I’d found something no one else had discovered yet!  I was even more impressed when a few days later all the ios beta testers were sent a new version with Siri’s voice restored to the one that’s set as the default for that particular device!

Please feel free to leave me a comment…especially if you have some great Siri stories to add…I’d love to hear them!!!

← Back

Thank you for your response. ✨

Posted in Apple, ios 9, ios 9 Quick Tips, Uncategorized | Tagged , , | Leave a comment

How to Turn iPad’s Keyboard into a Joystick | When to Use Joystick Mode |  ios 9 Tip


Every year Apple releases the next big thing for ios, always in September. Each year they add a few new features and capabilities for the keyboard too. Some of the more memorable new keyboard improvements in recent years include:

  • ios 8  2014 was a huge year for Apple’s mobile keyboard.  This is the ios that finally opened up the keyboard source code to outside developers so that entirely new and different keyboards could be used in place of Apples.  Things like gesture typing and keyboard shortcuts really came into their own in 2014.

One Big Improvement in ios 9 is the Ability to Turn the Keyboard into a Joystick

Where this comes in extremely handy for me is while I’m typing longer documents or emails.  I make the same typing mistakes over and over…which isn’t a bad thing because Apple keyboards now have a unique way of learning and adapting to a users specific style of typing.

The more I type, the better the keyboard becomes at auto-correcting my errors.  Although, this behavior is somewhat odd in that it works better on some devices than it does on others.  Perhaps a detailed analysis of my Settings on all devices is in order.

But the new Joystick feature for me, has improved my typing productivity immensely…by speeding up my own corrections when auto corrections aren’t enough.

How to Engage Joystick Mode

(Some people refer to this as ‘2 Finger Slide mode’ instead)

It’s really simple to do actually.  You just need to place two fingers together anywhere on the keyboard, and all the keys become ‘immobilized’ by appearing to be ‘greyed out’.  That means you did it!  You are now able to move your fingers all around the Keyboard space, which moves the curser too.  You can glide the curser wherever you want it to be…quite precisely I should add!

An alternative method of engaging joystick mode is to just quickly tap with 2 fingers anywhere on the onscreen keyboard.  Not only does this engage the joystick, but it automatically selects the word that the curser was on at the time you tapped too.  For more information on this method look below for the section ‘The Hidden Joystick Shortcuts.’

Here’s my really quick YouTube video demonstrating how to engage the joystick.

iPad Pro Keyboard versus iPad Air 2

A Side-by-Side Keyboard Comparison between 2 iPads, the Pro (top) & Air 2

Joystick Mode Helps Me Fix Errors Which Arise Due to

My 2 Worst Recurring Typos:

Recently, my finger dexterity seems problematic.  Although it’s quite possible that Apple’s redesign of the keyboards is actually to blame.  I haven’t compared the overall size of the newest keyboard to say the ios 8 or even ios 7’s, before all the recent keyboard enhancements began.

But, regardless of the reason, this phenomenon is responsible for 2 frequent typos I’m constantly correcting.  The first is that I now miss the Space Bar…a lot.  I inadvertently hit the m key instead.  This adds one more item to my ever growing proofreading routine…deleting random m’s.

The 2nd is that I don’t readily reach the Shift key when I want to capitalize letters now.  Except in this instance, I inadvertently ‘depress’ the a key…so I have a lot of a’s to remove too, as well as an extra step that capitalizes words I’d intended to but didn’t.

Corrections which were once tedious (and time-consuming) are now fun, easy, and super quick with the new joystick!!!


Key Benefits of Joystick Mode

#1  Precision curser positioning within words

Precise control over curser placement is my favorite benefit of using joystick mode. Trying to position the curser inside a word exactly, where you need to place it can be exceedingly difficult (although this ease is dependant upon the app you’re using too.)   This is because the app you are using dictates exactly which keyboard features are available to you.

For example, I use Evernote a lot.  But one quirk of Evernote is that it’s nearly impossible to place the curser within the letters of a word.  Although even this ability varies depending upon which version of the specific app your are using too.  I’m a beta tester for EV, which means that I frequently change versions…much more often than others do I suspect. Yet infrequently,  for brief periods of time, I don’t experience this problem…than one day, out of the blue, the problem just appears again (always following an update but it took me a while to figure that out because I have so many ios devices in various stages of updating apps.)

#2  Fast selection for words, sentences and paragraphs

There’s a ‘hidden’ shortcut in joystick mode, which is also a great time saver.  The shortcut works like this.  With joystick mode engaged, if you place the curser on a word and tap once, that word is immediately selected.  If you tap twice, the whole sentence containing that word is selected.  If you tap 3 times, the entire paragraph is selected.

The ability to quickly select in these three different scenarios, rather than needing to accomplish this task manually by first selecting a word and then dragging the ‘blue dot handles’ around your desired capture target (this alone can be a frustrating endeavor,) saves me a lot of time!


The Hidden Joystick Shortcut

  • Tap once to select a word.
  • Tap tock to select a sentence
  • Tap 3 times to select a paragraph, block, or section of text


#3   Fast curser positioning anywhere on a page or within a document

As most people who type a lot on ios devices know, even ther mere act of positioning the curser somewhere can be difficult at times and extremely frustrating occasionally too.  Joystick mode bypasses all the frustration by allowing you to position the curser anywhere quickly and easily.

Bonus Tips

While researching this topic for my post I ran across this quick video tip which shows you how to turn an iPad or iPhone into a remote keyboard for a computer.

And another great YouTube video that reviews 9 of the best free keyboard apps for ios.

Here’s a good  YouTube video highlighting some of the best new features in ios 9.   If you fast forward to about the 10:30 (or 10 1/2 minutes from the beginning of the video) there’s a great demonstration o.f the hidden joystick shortcuts.

Please leave any comments or questions using the form below.

← Back

Thank you for your response. ✨


Posted in Apple Products, ios 9, ios 9 Quick Tips, Tech Tips | Tagged , , , , | Leave a comment

Quick Way to Instantly Stop Apple’s iCloud from Dominating Your Network’s Bandwidth

It’s No Secret That Ever Since ios 8 iCloud Photo Backups Aggressively Hog Network Bandwidth

Yet, Apple has not addressed the problem, leaving thousands of users with so little bandwidth it’s oftentimes impossible to even stream Netflix.  You know things are bad when you can’t even stream Netflix, because that’s the one streaming service that’s a master at managing bandwidth!

Abstract image of lots of iPads

The More Apple Mobile Devices There Are In A Household, The Bigger the Problem Is

But web searches for solutions yielded little in terms of results. That’s why I decided to write this short post. There’s no effective method of halting iCloud photo uploads temporarily. Any attempt to do this can actually make the situation much worse by potentially invoking entirely new upload and download streams of large libraries.

I ran across a simple solution that we use on a daily basis. We’ll continue to do so either until Apple fixes the problem or we manage to optimize our bandwidth by throttling iCloud photo activity*.

Air Plane Mode Comes to the Rescue!

The solution is to place any and all devices into Airplane mode until a time that network resources are no longer actively needed…probably when everyone goes to sleep.  It’s not an elegant or brilliant solution, but it is a simple one and it does the trick!

Update Jan. 2018

I have 2 things to add to the above information.

Not All ios Devices Need to Be in Air Plane Mode

First, not every ios Device needs to be placed in Air Plane mode…just the ones that have recently had new photos or videos added to them. It’s the uploading of these to Apple’s iCloud that usurps so much of our bandwidth, and just placing offending ios devices into Air Plane mode instantly solves the problem for us.

*macOS Server Was Briefly an AMAZING Solution!

I did discover a much better long term solution too…but it’s really only useful if you own a Mac computer. We actually bought a Mac Mini to the tune of $1700 just to address iCloud network problems! The solution was a Mac utility app that costs $20 called MacOS Server. Within MacOS Server is a caching service which manages all of your iCloud data for your ios device so that, as long as you keep your Mac runnng, Apple iCloud network bandwidth problems are not an issue anymore, The utility is really designed for schools and businesses that maintain a lot of Apple devices but I discovered that many, many home users have begun using it too. Especially Apple employees!

We learned about MacOS Server in the summer of 2017 and purchased it for $20. It was pretty easy to setup and begin using…even for a nontech person I think. The one tricky thing about it was that you need to keep your Mac awake and running 24/7. No amount of tweaking power settings seemed to accomplish this for me, so I got a freeware program called Amphetamine  which runs in the background and keeps our Mac awake and running. Amphetamine was great and solved the problem!

But a bigger problem cropped up literally a few months after we finally got everything working so beautifully. Apple came out with their new Mac OS High Sierra and with it they’ve disable support for MacOS Server’s caching service.  They say the reason is because High Sierra has its own caching utility but that only works in a tethered mode, meaning you need to have your ios device physically plugged into your Mac with a charging cable. So High Sierra isn’t really doing the same thing at all and I have no idea what Apple dimwit came up with the concept that it was. How, in the world is connecting one device to your computer with a cable comparable to having all of your ios devices use iCloud data seamlessly and wirelessly even remotely similar?

So sadly, our bandwidth problems appear to not be resolved once again :-(

If anyone reading this is using OS Server for their caching service like we are and wants a solution too, please go and leave feedback for Apple’s developer of MacOS Server here. An Enterprise Genius I talked to recently told me that they will listen if many people provide feedback requesting this feature be reinstated. Make sure when you do that you provide feedback for MacOS Server by selecting the app from the Mac Apps section. See my screenshot below:

IMG_3906

Comments

Please feel free to leave me comments by scrolling way down to the bottom and looking for the small comments box.

Posted in Apple, Apple's New ios 8, ios 8, ios 9, Tech Tips | Tagged , , , , | Leave a comment

How to See Your YouTube Channel Subscribers & Manage Comments

Update November 2017

YouTube recently added a way to see who your new subscribers are from the mobile versions of the YouTube app. If you’d like to see how to do that with an ios device you can find out here.

Introduction

I’m was relatively new to YouTube as a channel provider when I first wrote this and I’d searched for way too long trying to figure out who my channel subscribers were. I also found it difficult to approve individual comments thereby allowing them to show up underneath their actual videos in YouTube.  When I finally figured out how to do both I wrote this.

That was about a year and a half ago. Since that time my channels subscribers have more than tripled…from 17 to 60!  Surprisingly my steps for finding out who your subscribers are hasn’t changed. What has changed is how I manage comments, which I get a lot more of these days. I show 2 methods further down.

It’s weird, and I don’t know why, but certain videos of mine just seem to always get comments. Other, equally popular videos have never had a comment…not even 1…I don’t really get why that is.  There’s one video which gets several comments every week. In it I show people how to break off blades on box cutters safely. It’s such a simple concept but I’m approaching 23,000 views in less than a year’s time. If anyone has any insight into this I’d love to hear it!

“October 9th 2016 was the 10 years anniversary for Google’s acquisition of YouTube.  I wrote a little ‘retrospective’ post to commemorate the occasion.

Find Out Who Subscribes to Your Channel | These Screenshots Were Made on an iPad Mini

You can’t see who your subscribers are using either the YouTube app or the Creator Studio app on an iPad. You can manage comments however using either app…I’ll show you how to do that via Chrome next.

To find out who subscribes to your channel using an iPad the best way to do this is by using the Chrome app.  The steps would essentially be the same if you’re using an Android device…just a few less steps…because you already have Chrome.  If you’re on a Windows mobile device I suspect Chrome is still the best option…but it’s been a while since I’ve used one…that was what I used when I did.  If you’re using a computer the steps are essentially the same too…you can just skip things like switching to desktop mode.

  • First download the Chrome app and login to your Google account for the channel in question – since I’m writing this on an iPad the Chrome app is essential…you can no longer manage your channel using Safari on ios.
  • Go to your channel  (here’s mine) and switch to Desktop mode if you’re using a mobile device.

Screenshot showing how to switch to desktop mode

Screenshot showing you've switched to desktop mode

  • Once you’ve arrived at your channel…tap or click on the hamburger menu in the upper left corner…that’s the 3 horizontal lines that sort of resemble the form of a hamburger.  When you do that the YouTube menu opens in the left hand column.
  • From the YouTube menu select ‘My Channel’
  • Locate the words ‘Video Manager’ in the middle top portion of the screen and tap or click on them.

Screenshot showing how to open Video Manager

  • When the next left hand side menu is displayed look for the Community menu item and expand it…once it’s expanded you’ll see where both Subscriber and Comments settings are.
  • Select ‘Subscribers‘ and you’ll be taken to a screen resembling mine shown below (the 2nd one)

Screenshot showing how to expand community menu

Screenshot of my YouTube channel subscribers

How to Manage Comments

This is my older method…further down is my new one using Creator Studio ios App 

Go back to the Community menu discussed above and select ‘Comments‘ instead of subscribers.  Once the comments are displayed, you can manage each one individually or in batch mode.  Refer to the notes on my screenshot below for more help managing comments.

Screenshot showing actions available for comments

Link to My Channel

My Most Recent Videos

How to Edit Muliptle Photos at Once on ios with the One Edit Pro App

Siri News at Apple’s Recent World Wide Developer’s Conference June 2017 

One of My Favorite Videos

While this video isn’t very exciting or entertaining, I love it because I love the subject matter. A few years ago my husband gave me the Fujitsu ix500 scanner as a birthday present and this scanner is so amazing that it’s literally changed my life. I was struggling with too many paper documents and finding places to put things that I knew I should save but that I was running out of places to store them, Consequently I had stacks of things lying around that annoyed us both, I’m a huge user of Evernote and had asked for this relatively new Wvernote scanner for my birthday.

Neither of us knew that there were actually 2 very similar scanners and the one he gave me was the wrong one. But it turns out it really wasn’t. The one I received ended up being more versatile and so incredibly useful that he and I both use it almost daily to scan in documents that we store in Evernote, or send to someone so we can get rid of the paper copy.  Our home is finally free from stacks of documents and Fujitsu just keeps making this scanner better with added features via software updates.

How to Use the Fujitsu iX500 Scanner with an iPad

Google Is Constantly Updating their User Sites and Apps

There are obvious pros and cons to Google’s penchant to improve their products.   The most significant con imo is that oftentimes when the changes are implemented there’s a learning curve which takes time to master.  There’s probably a direct relationship between age and adaptability…because our kids don’t seem to struggle like my husband and I do with these changes.

If anyone reading this post discovers that recent changes cause my information  to no longer be accurate, please let me know using the comment feature below (I don’t require your email address or anything really to comment) so that I can fix this post to remain helpful!

Update | September 2016 

While researching how to play videos using ios 9’s multi-tasking capabilities with YouTube (this isn’t possible using the YouTube app) I ran across Google’s updated support page for uploading videos on different devices.  Here’s a link to the page and below is a screenshot of their step-by-step instructions for iPads.

My Newer Method for Managing Comments | Update June 2017

I really have grown to love the Creater Studio ios app and that’s what I use now to mange all my comments. Just use the  ‘Comment‘ menu item on the left and read my notations in the screenshot below.

Tapping on the small downward pointing arrow is the key to finding where you can approve and reply to comments.

Tapping on the small downward pointing arrow is the key to finding where you can approve and reply to comments.

One Problem With Creator Studio is the Number Showing New Comments is Difficult to Work With

I solved part of that with my description above, but there was still an issue I chose to ignore for this post…what happens when you approve all comments and the Comment Number doesn’t become Zero?

I finally figured that out too. If that happens to you you can read the solution in my newer post ‘YouTube’s Creator Studio App for ios Has A Number for Comments that’s Hard to Manage’

Solving Creator Studios Comment # 'Never Goes to Zero' Problem

Comments

Please feel free to leave any comments for me below:


← Back

Thank you for your response. ✨


Posted in Videos, YouTube, YouTube Channel | Tagged , , , , , , , | 4 Comments