
A Few Years Back Apple Opened Up Safari’s Architecture to Other Apps in ios 8
ios 8 Completely Changed and Streamlined How Web Clipping to Evernote Works…a Change Which Remains in ios 10 too!
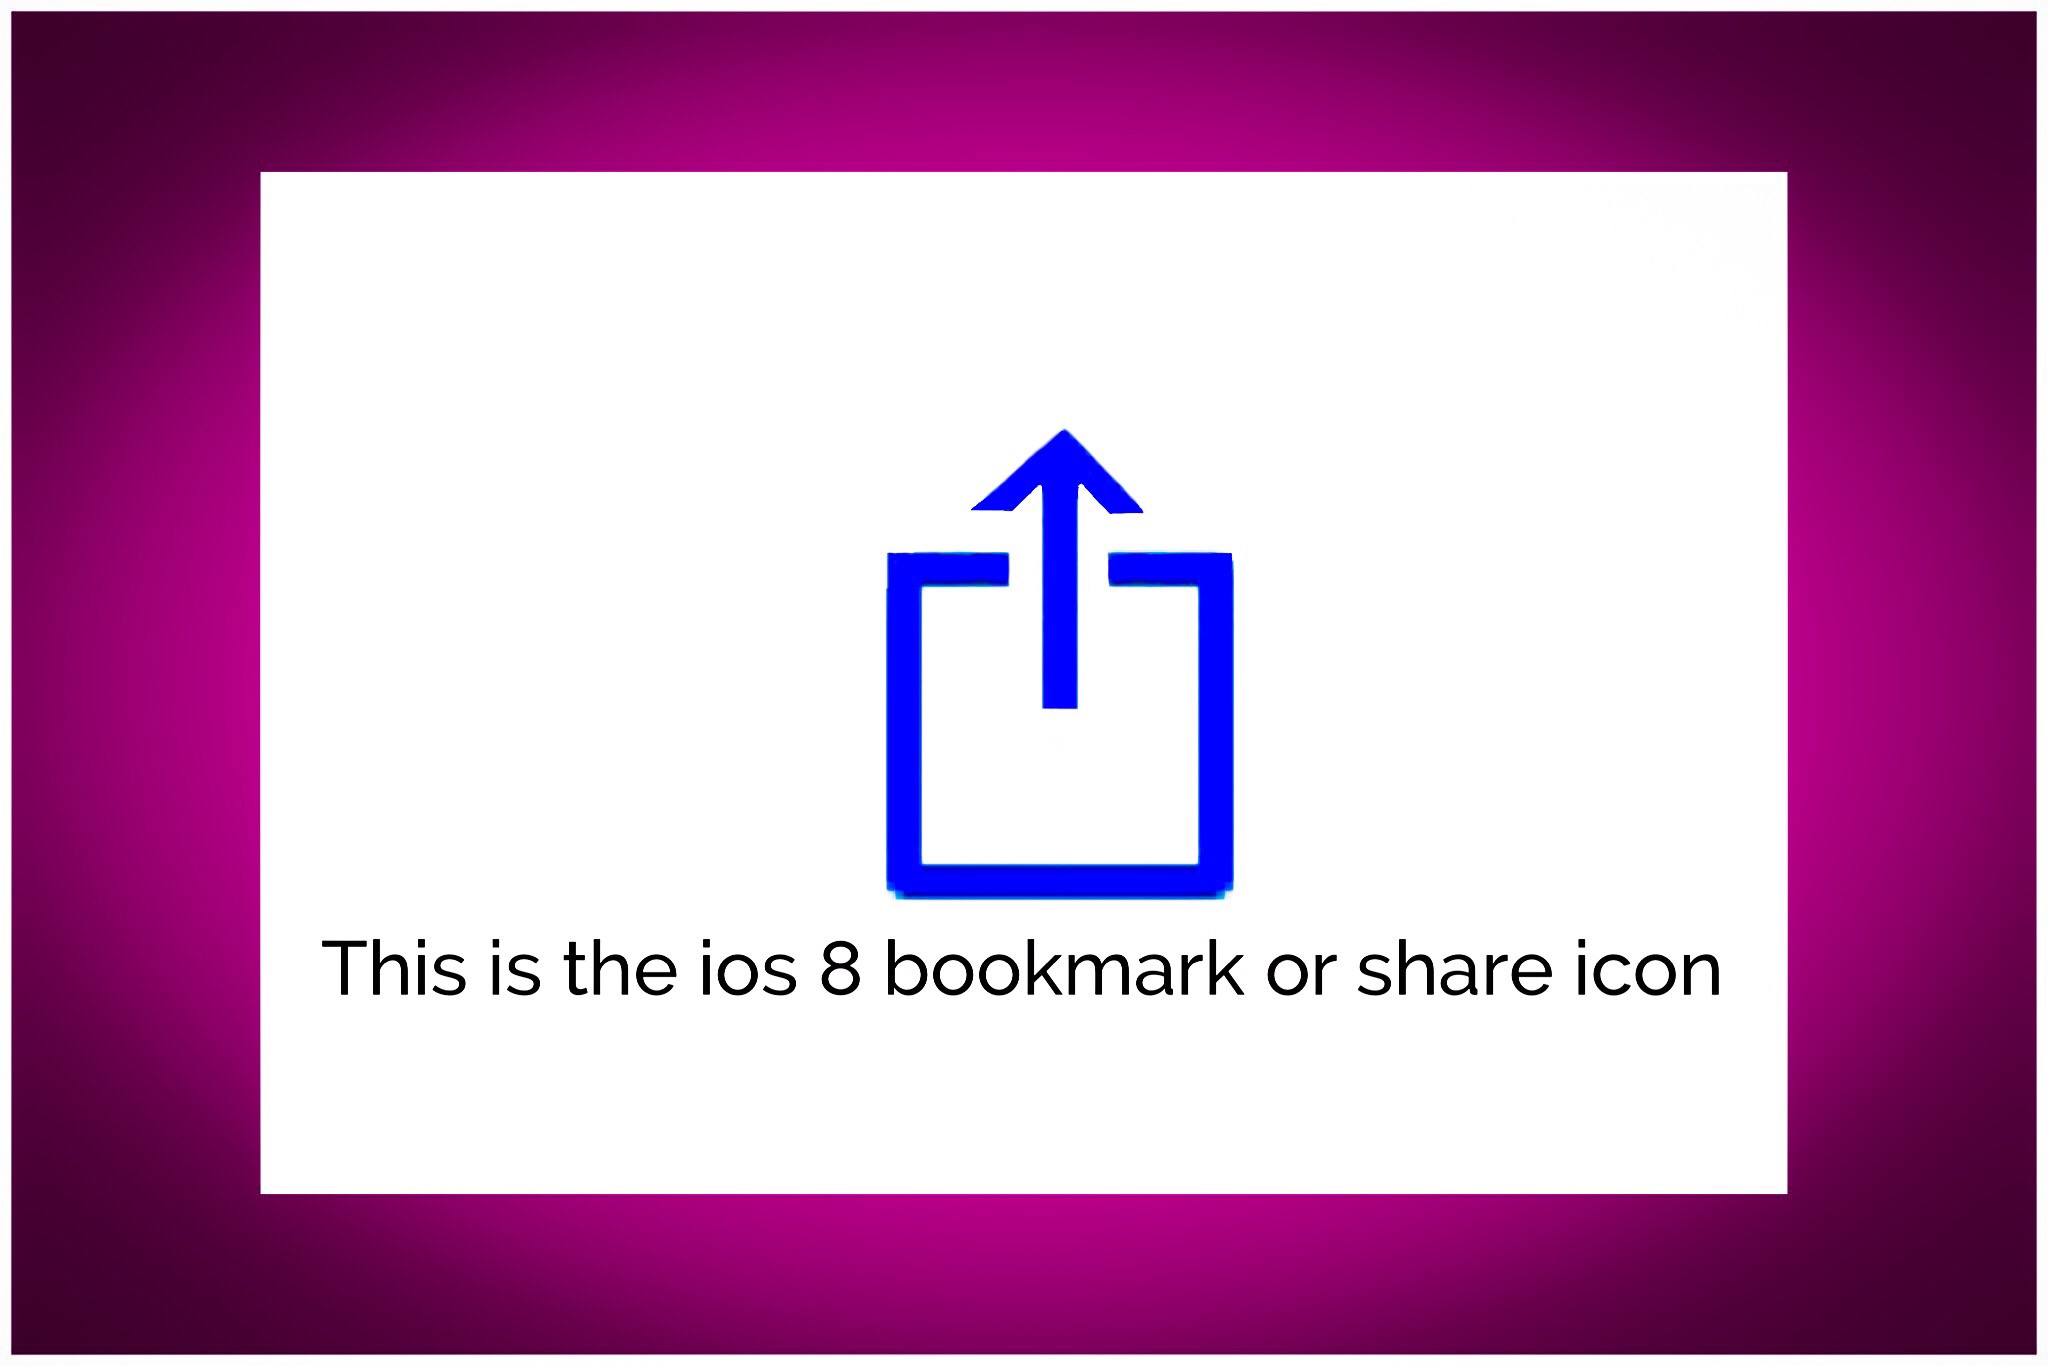
Initially Apple called their all new icon (pictured below) the Share Extension…it was used universally across all of ios as a new method of saving or sharing data and continued in ios 9 and 10.
Use of the Safari Share extension with Evernote became the best way to clip web content for saving to Evernote. This drastically improved web clipping for Evernote on ios devices! At the time that I first wrote this post I was thrilled with the new features and couldn’t even begin to calculate how much time I now saved on a daily basis..but it was A LOT!
How to Use the Evernote Share Extension to Clip Web
When you tap on the Evernote share extension a dialog box appears. At the bottom, the name of the last notebook you used is displayed. Just tap on this to scroll through your list of notebooks if you want to save this note to a different notebook.
The text that appears in the main dialog box is what will appear as the new notes title.
This is the method to use if you want the entire webpage ‘clipped’ or saved in Evernote because you don’t need to do anything else.
So to reiterate, here are the steps to save the entire webpage:
- tap to open the dialog box
- select the appropriate notebook
- then tap ‘Save’
It’s really simple and fast!
If you want to save just a portion of the page select the part you want to save first. By isolating a portion of the text as an active selection, only text included in that specific selection will be saved to the note. That’s all you need to do (in addition to the first steps above). When you go to preview the note in Evernote, the portion that you selected will appear in the body of the note! It’s really pretty cool!
Further Tweaking for the New Note’s Content
Adding an URL to the Note
If you want to include an actual URL or link to the webpage (EV makes the clipped content function as an active URL but the link itself isn’t displayed) the best way that I’ve figured out to accomplish this is to:
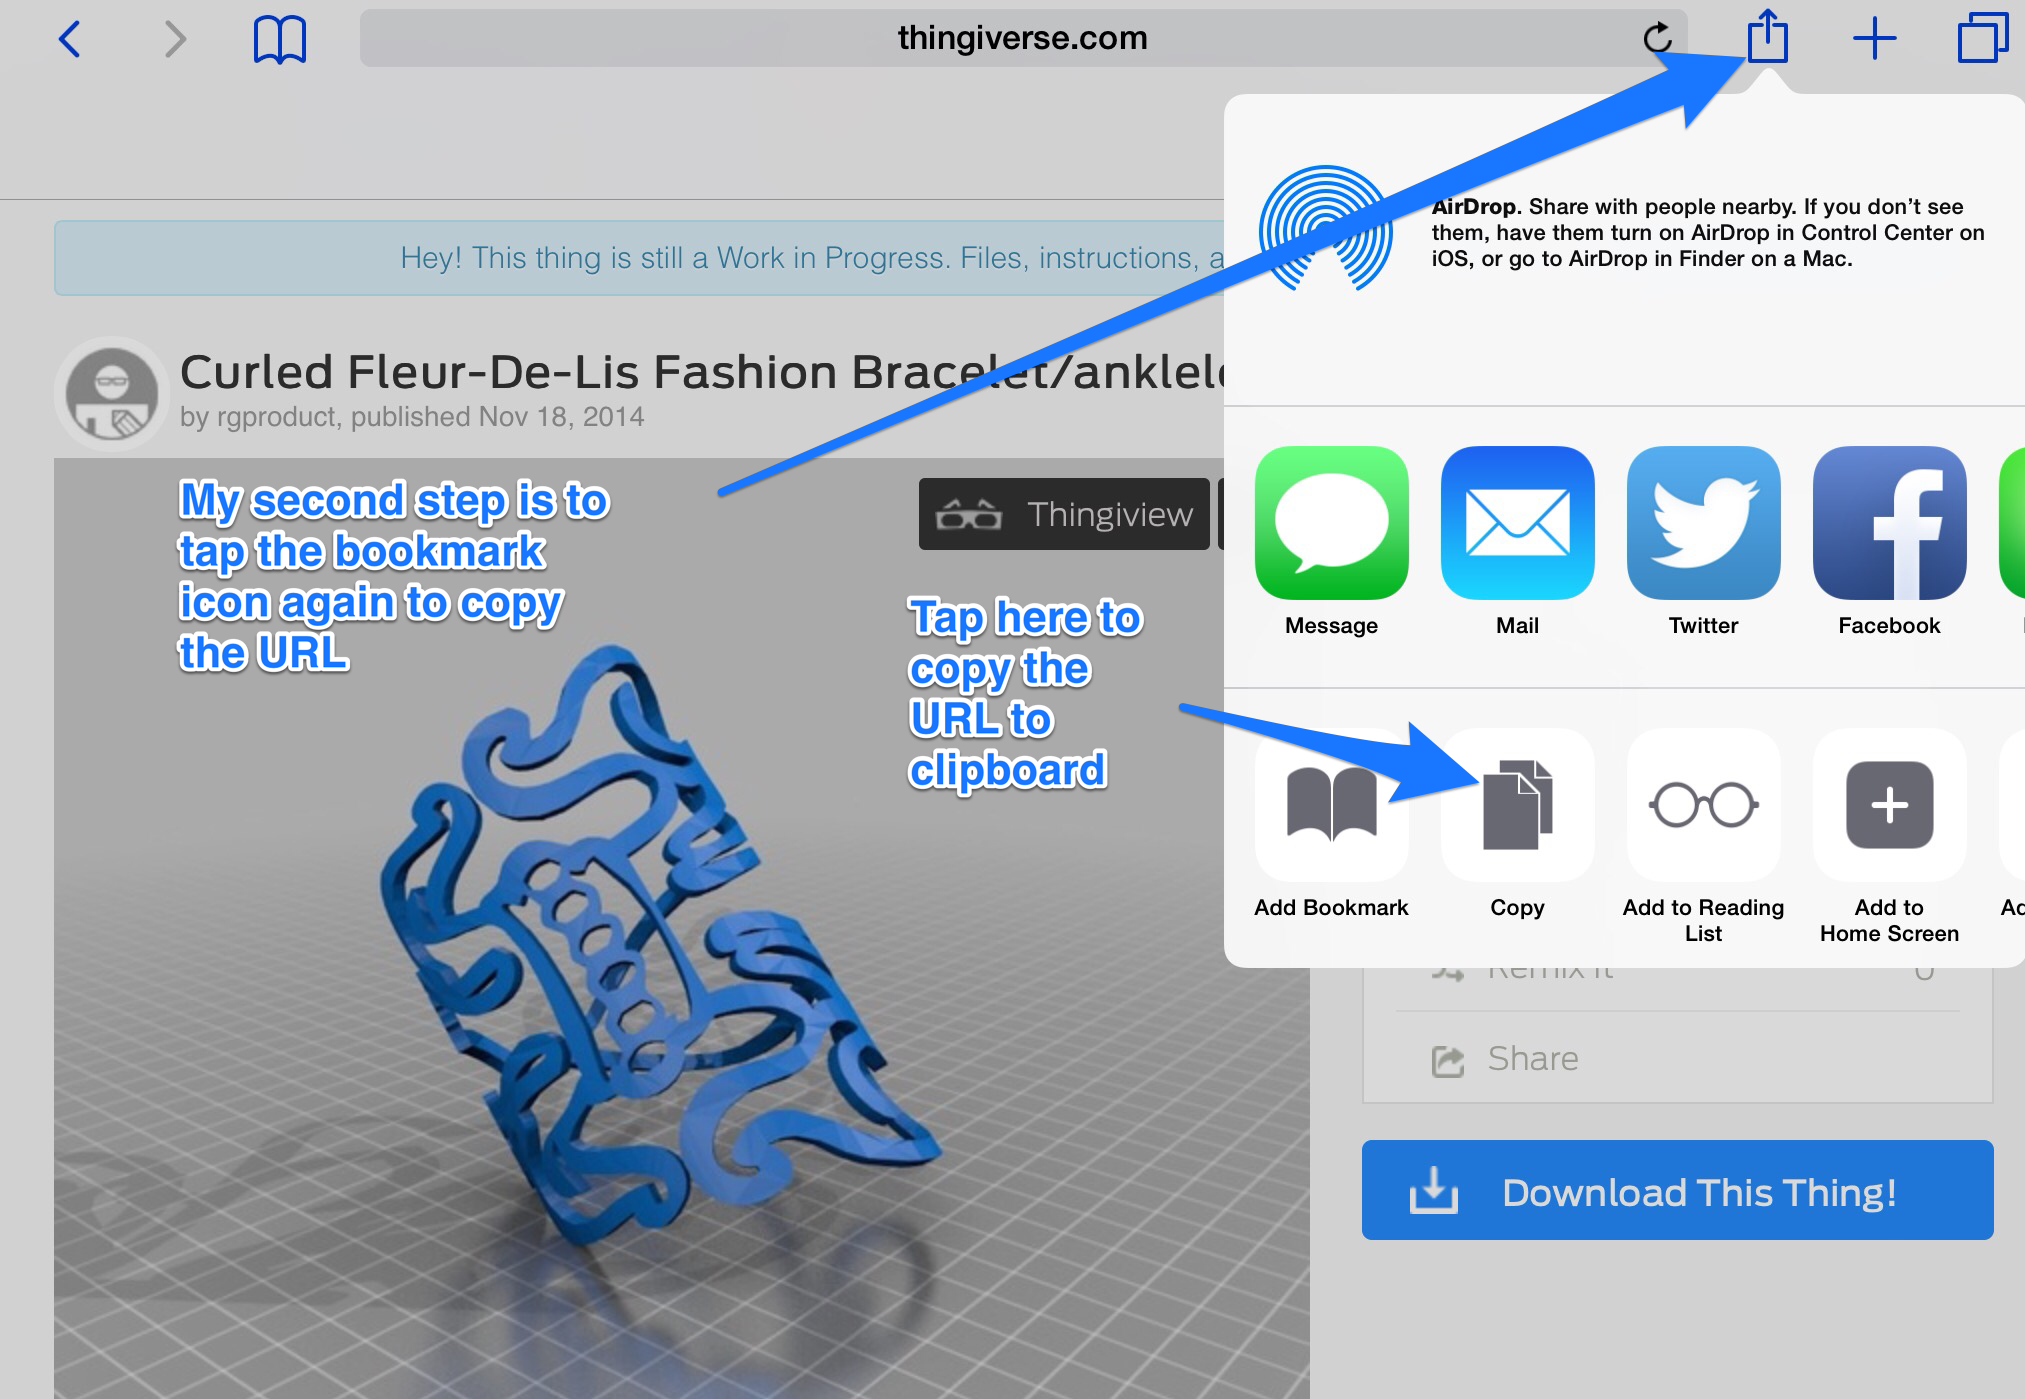
▪️ Copy the URL first (onto the invisible clipboard) using the same share/bookmark icon.
▪️ Then tap the share/bookmark icon a 2nd time and select Evernote from the top line of options.
▪️ When the dialog box appears (which may take a few moments if it’s a data intensive webpage) do the following:
- Tap inside the Dialog box once to pull-up the keyboard.
- I usually tap the ‘Return Key’ a few times to create some white space between text that was auto-entered and the URL I’m adding
- Then long press within the box and select ‘Paste’ and the URL will be pasted inside the box.
When you open the note in your Evernote app you can fix the title of the note by deleting the URL portion if it bothers you.
There’s a specific reason why I save the URL too
Remember when I said that any text that’s displayed within the Share extension’s dialog box will be included in the new notes title? Well, in addition to placing the URL in the note’s title, Evernote also places at the very top of the newly clipped content. Usually it’s unnecessary for functionality because EV is smart enough to open the webpage when you want it too without having the link visible inside your new note.
But there’s another less obvious reason to do this:
When that ‘extra text’ is placed into a ‘web clipped’ note, that extra text renders the note more receptive to subsequent text which may be added by the user.
This is especially true if the information that you want to add afterwards you intend to add at the very beginning of, or at the very top of the note.
It’s hard to explain and probably better just trying out both methods yourself.
But this one little tweak can make editing the note after the fact much, much easier when using Evernote on ios devices.
This extra step solves a big problem:
If you use these web clipping methods without placing the physical URL at the top of the note (or really entering any random text there will work just as well) it is impossible to add any additional information to the beginning of the note! I’ve spent a lot of time messing around with this…it is literally impossible to do on an ios device! If you do need to add data to the beginning of a note you need to do it using a computer!
More on Why I Use a 2 Step Method
As I mentioned above, this second step isn’t entirely necessary, since the way that Evernote captures the page is sort dynamic…meaning that if there are hot links within the content of the webpage, those hot links will also be active within your note.
As I mentioned there are really 2 primary reasons that I’ll take this extra step:
- Sometimes it’s just nice to have the exact URL in an obvious place…at the top seems to me to be the right place
- By adding the URL first, essentially what I’ve done is added a text field which occurs before the notes main content.
- That main note content oftentimes includes aggressive text formatting which can make it really difficult to ‘manually’ work with the note afterwards.
- So, having added this extra text field just ends up being really useful if you want to add any more information into the note…especially at the beginning of the note.
Adding a Photo to the Note You’ve Clipped from the Web
This is a Step I Use A Lot for Downloading 3D Print Files that I Intend to Print
Evernote just keeps improving. One newish feature around the time of ios 8 was that Evernote began placing a photo that was within the note into a thumbnail position within your notebook. The thumbnails can sometimes make it easier to find a certain note.
Usually this thumbnail photo feature happens automatically, but for certain things, like downloading .STL files for 3D printing, no image is included in the actual download. But using my method there’s no need to create a 2nd note just to capture the webpage information too.
Here’s how I capture everything into one note quickly:
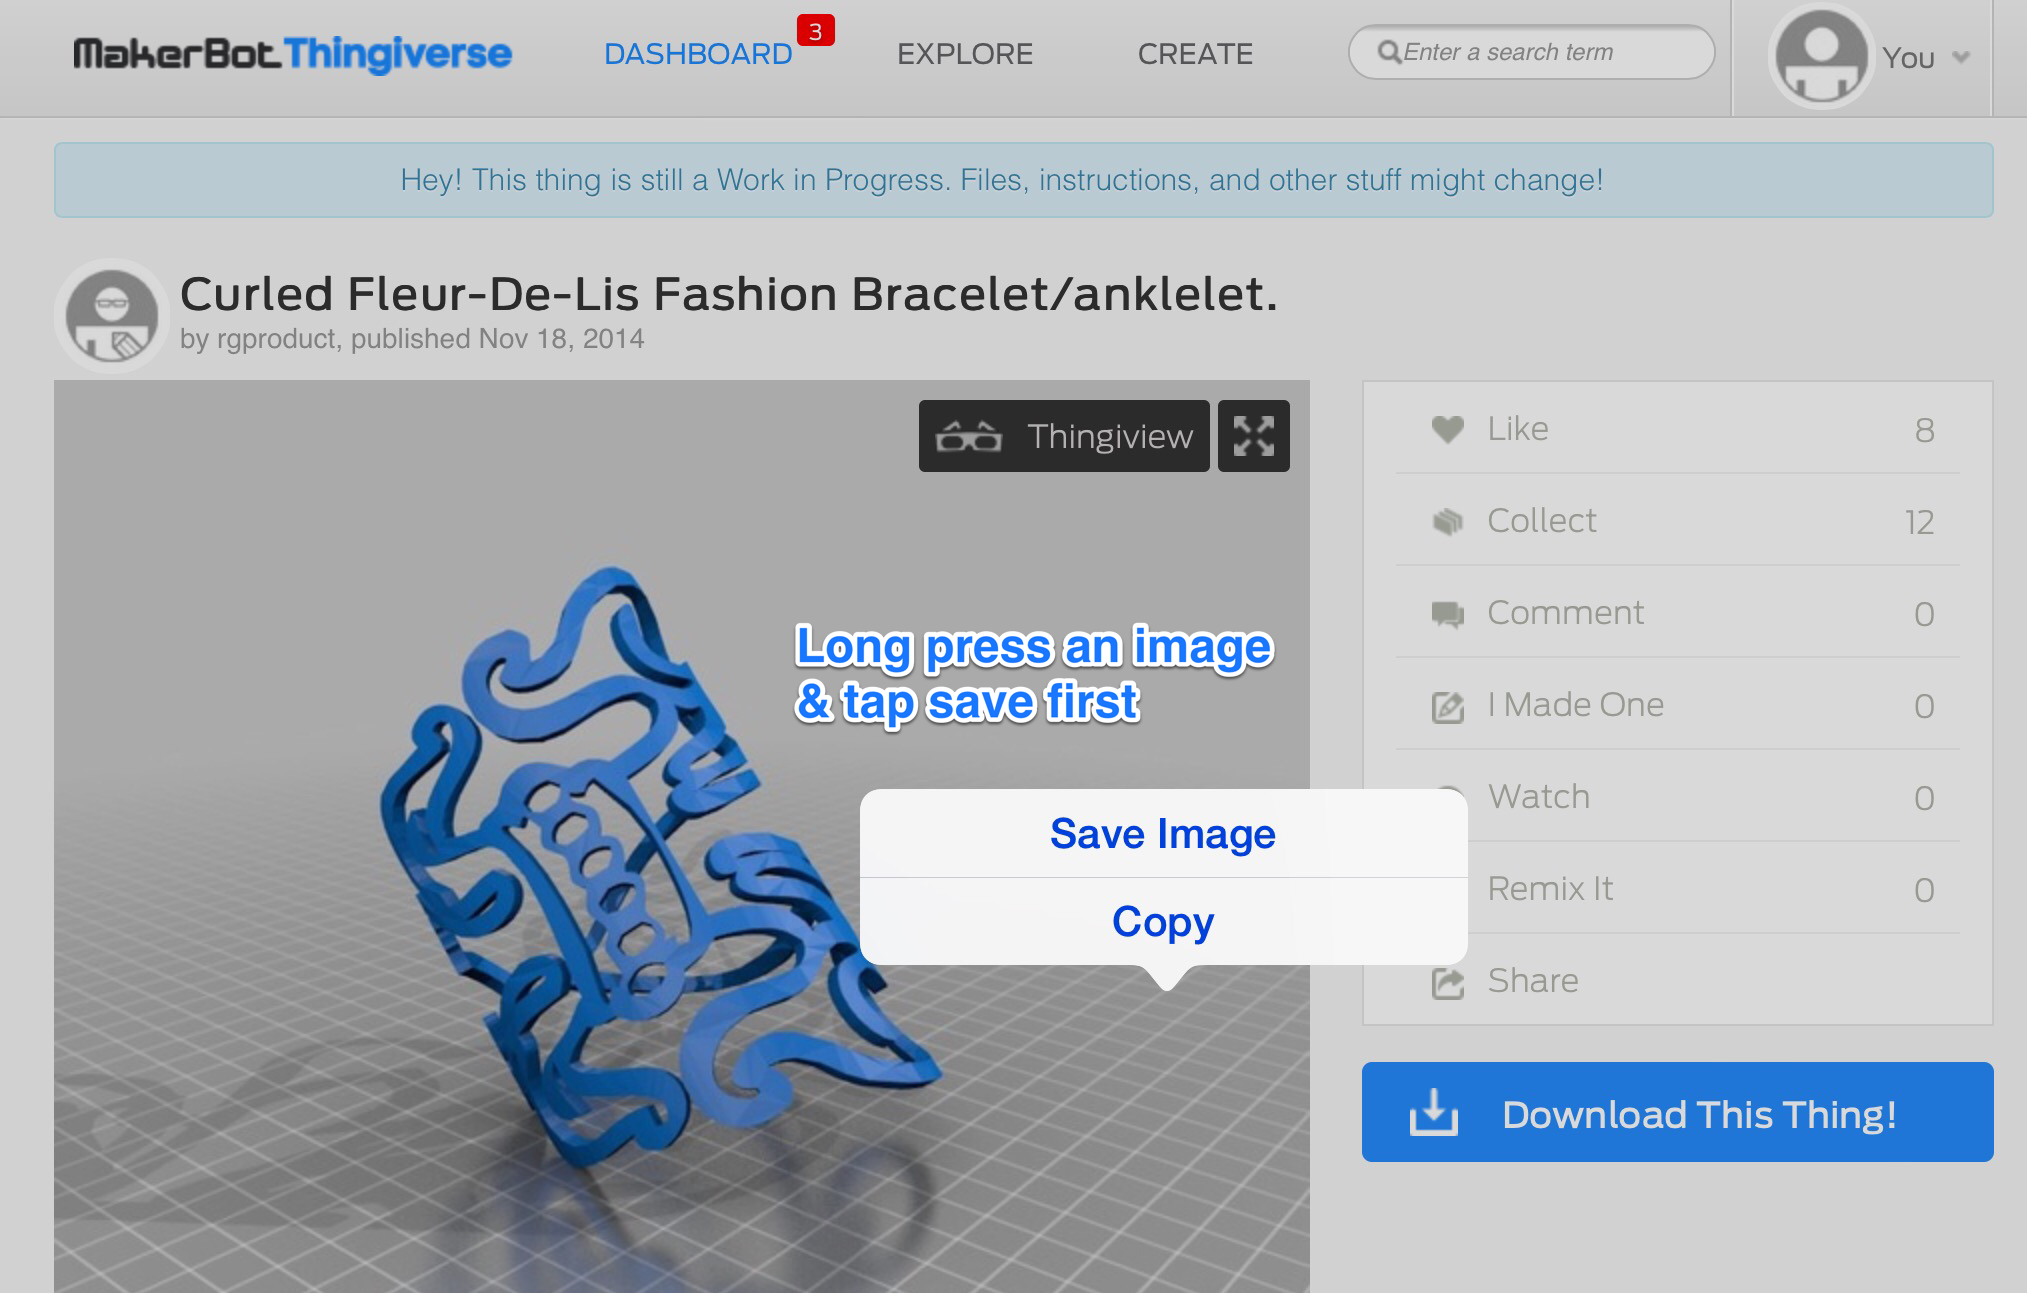
- Step One: First I Save the image I want to the Camera Roll (now just called Photos)
- Step Two: Copy the URL
- Step Three: Either capture the note in Safari using the bookmark/share icon, or tap ‘Download’ to download the file, and then paste in the URL into the dialog box as described earlier.
- Step Four: Open Evernote and delete the note’s title and replace it with something more descriptive.
- Step Five: Tap at the top of the notes content to place the cursor within the note and at the beginning of it.
- Step Six: Tap on the paper clip icon at the top of the note which opens a dialog box where I select ‘Saved Photo‘. Then navigate within that box to the Camera Roll and tap on the photo that I recently saved.
I ended up with a succinct, nicely formatted note!
Don’t be fooled, just because my method uses 6 steps doesn’t mean it’s complicated or time consuming. Nothing no could be further from the truth…this method is very fast and efficient!
The whole process literally takes a few seconds, which is why I’m so thrilled and why I’m writing this post in the first place!
Step By Step Guide | Web Clip with a Photo
Here’s a pictorial guide to my steps:
I’ve tried to include every last detail on how I do this, because it works so beautifully. Yet I wanted to make it easy to understand and follow along with too. So while this may look complicated, believe me it’s really simple! Everything I’m doing here are functions that everyone uses a lot in ios…what is unique really is just the order that I do take these simple steps in.
Step 1 is to save the photo or image:
Step 2 you save the URL (the link)
Step 3 and 4 puts all the information together to be saved into a new note


After saving the note I will open the Evernote app to add the photo from the ‘camera roll’ and to fix the note’s title
This is the final result in Evernote:

The Degree of Fine Tuning Can Even Be Taken Further
Step 5 is adding some additional information to the note from another webpage
This whole process is so easy, that I often include one final step. My last step occurs immediately following those described above. Typically after Steps 1-4, I would open the note in the Evernote app and fix the note’s title. This 5th step is taken before I’d do that.
Step 5 involves copying information from another webpage onto the clipboard. I might do this if there are additional instructions for printing a model for the .stl file that I’m downloading. I will capture those instructions first (by selecting and copying them) and then I’ll open the Evernote App and paste the Instructions into the note (prior to both changing the title and adding the image I saved).
The flexibility of this new way to capture web content into EverNote is so great that I suspect there are more hidden features that I haven’t even figured out yet!
Other Ways I Use Share Extensions
This same versatility is also available in other apps that you probably already use too. I like Instapaper, and add things to it the same way now, but there aren’t any additional options currently to tweak what you save there.
Dashlane, my favorite password manager app, also has a share extension now, which will open the page I’m on in the Dashlane browser.
The Reordering Feature for Share Extensions is Fixed in ios 8.1.1
Many early adopters to using share extensions have been frustrated by one small annoyance. Apple has given users the ability to reorder the extensions they use frequently, but the newly arranged order has not been permanent. It wasn’t clear to me what action was triggering the order to revert back, but it’s been reported that with Apple’s release of the 8.1.1 update this week that issue has finally been resolved.
Comments
Please feel free to leave me any comments on this post or about how you accomplish the same tasks.


